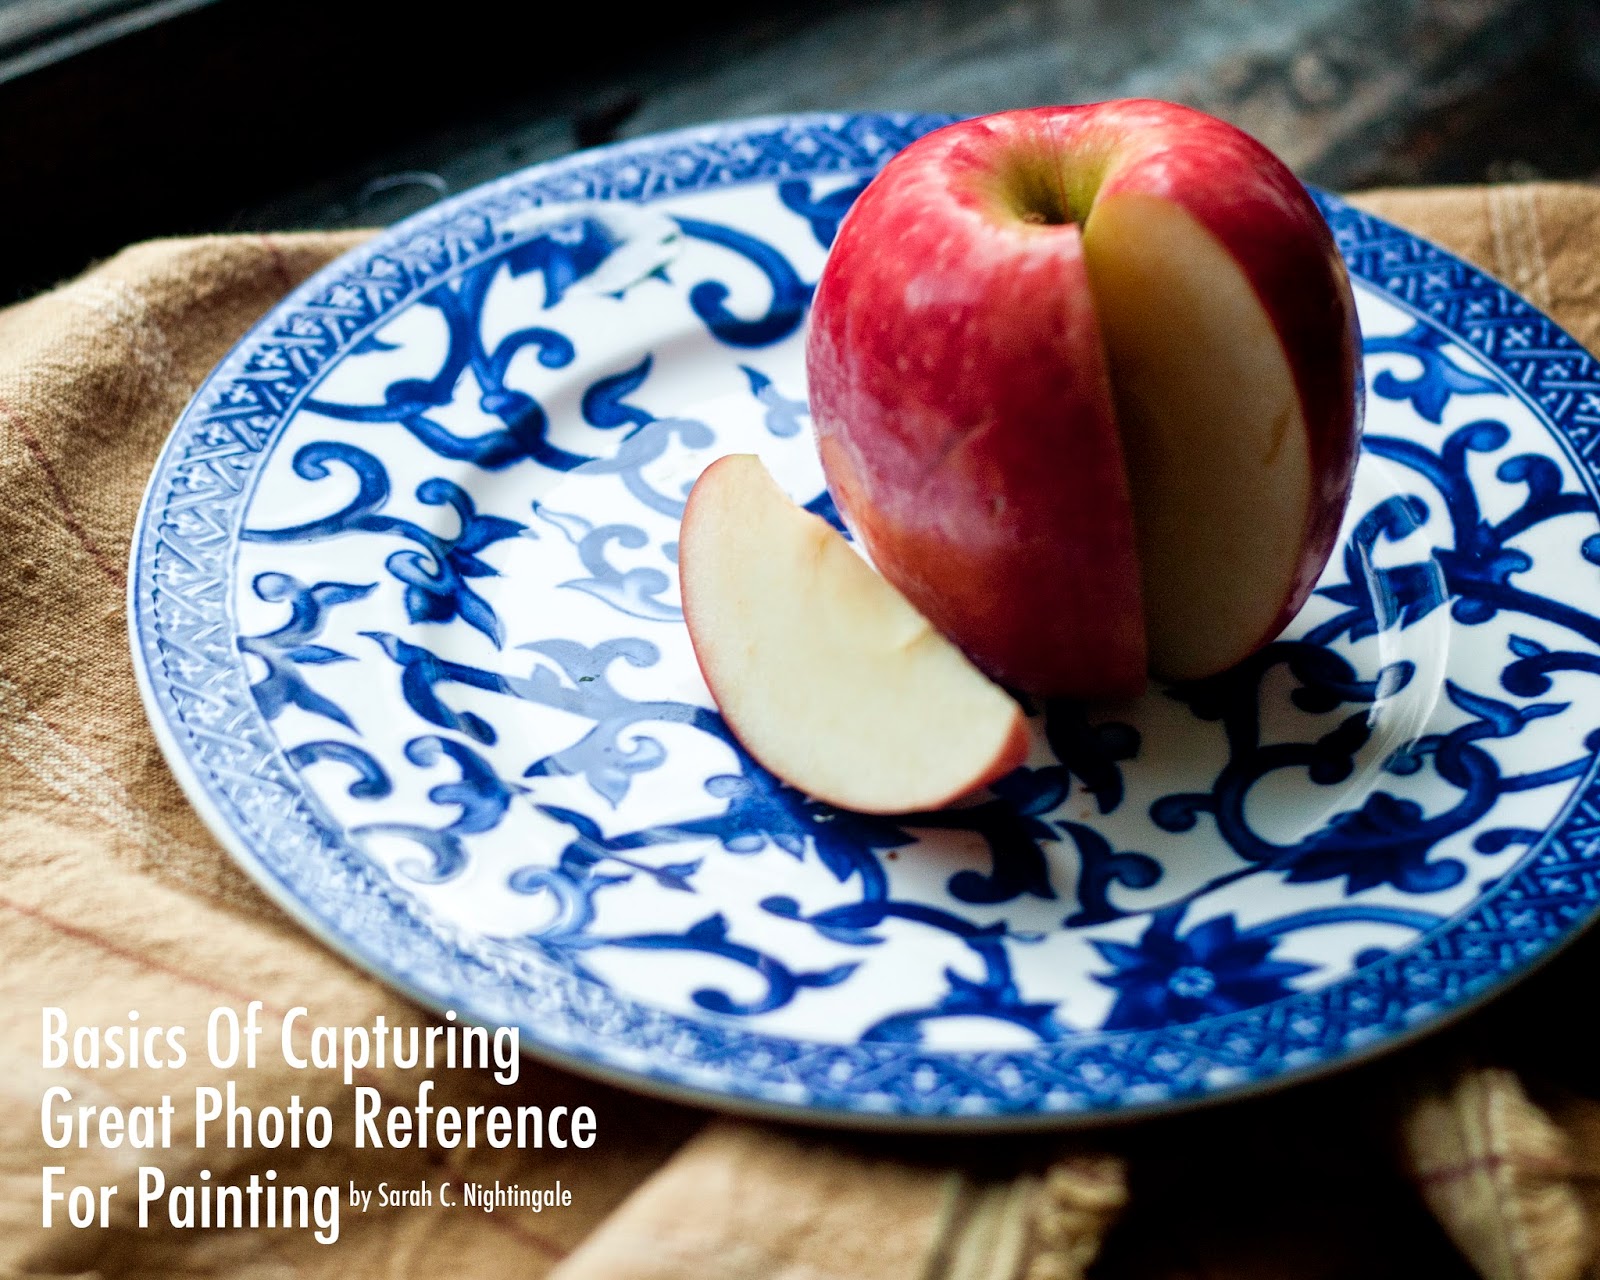
Basics Of Capturing Great Photo Reference For Painting
5:54 PM
I will always love painting from life above all else. There is nothing greater than sitting with your subject in reality and working out a painting. Similarly, some of the most beautiful work the world has ever seen was created by observation and observation alone; however, painting from life often isn’t convenient, or in some cases, it’s impractical. Working with photographs can be a perfect alternative! When painting from a photograph, it is important to remember that a good photograph is essential to a good painting. You don’t need to be a professional photographer, but you do need to take good photographs. Additionally, always remember to be you. Be authentic. Although there are many beautiful images around the internet, books, and elsewhere, all images are subject to copyright--they belong to another artist--always work from your own images. In this post, I am going to give you a few great tips to help you produce your best images, and therefore, your best paintings.
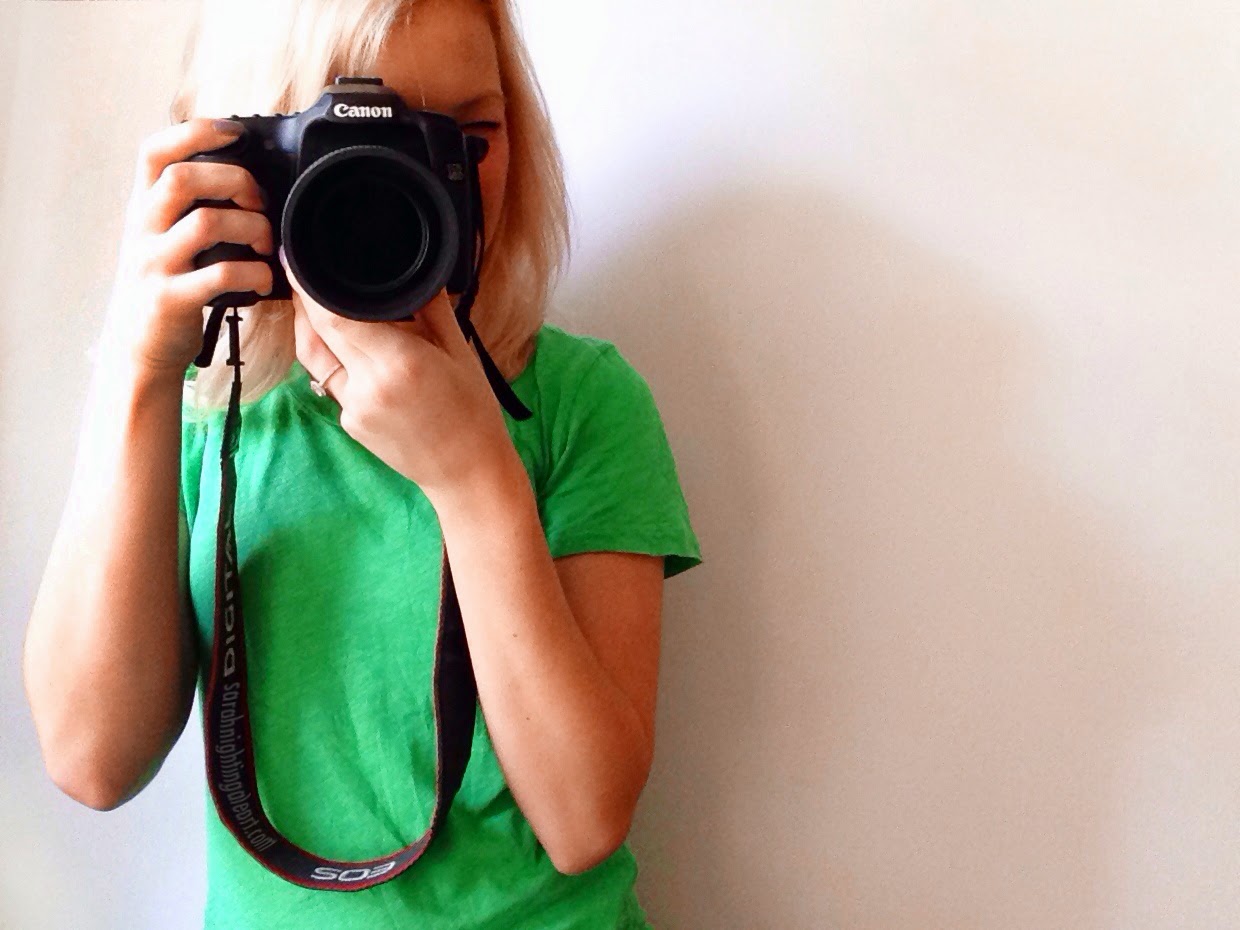
Camera: An SLR camera is always going to be the best option for you to have great photo reference. Not only do you get the best resolution, the clearest image, but they keep edges natural and colors closest to reality. Point and shoot cameras, including phone photos, often don’t capture the absolute light and quality you would see in real life, stay away from those if you can. You’ll be so much happier with the results you get from an SLR than you do from a point and shoot.
If point and shoot is your only option, however, maybe make notes on a piece of paper about what colors you are seeing in shadow areas, the areas where the light is the brightest, and any other subtle colors differences before you take the photograph. It’s also a good idea to note where you see sharp edges and soft edges. Later, when you’re painting from your photographs, you can refer to your notes and enhance those areas on your painting of the missing color in your photos.
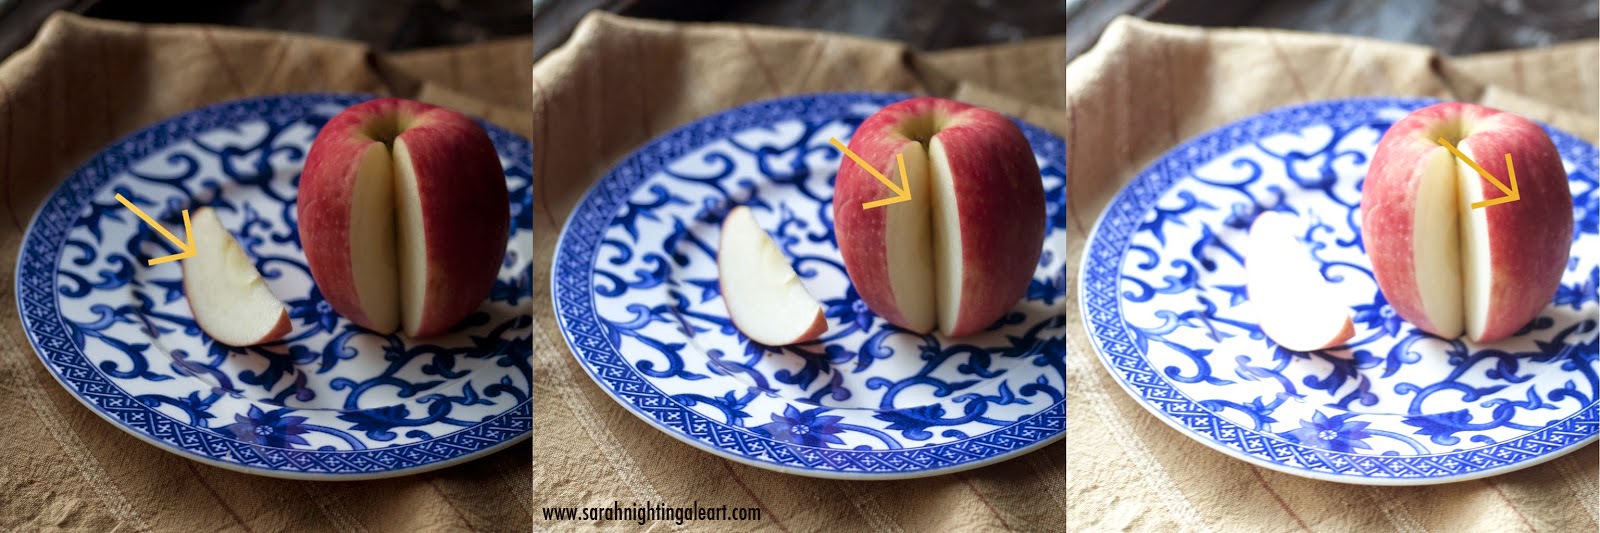
Exposure: A helpful way to capture the details of your subject, details that would otherwise be lost, is to take three shots exactly the same with the exception of exposure. The first photo should be under exposed, the second “perfect exposure,” and the third should be over exposed. This allows you to look into all the areas of light and dark and ultimately reveal details that one single photo wouldn’t produce.
In the images below, shot at three different exposures, consider what details you can see where each yellow arrow is that you cannot see in the other images.
Composition: This subject is complex enough to have entire books written about it, but ask yourself these three things and you’ll be set.
1. Is anything centered? With the exception of a single portrait, don’t center anything. Instead, split the canvas in thirds each way and align things on the grid of thirds instead.
2. Is everything unified? If something feels out of place, move it. (Remember, you don’t have to paint your painting exactly like the photo. If you’re photographing something with large stationary objects like a landscape for a painting, a tree can be moved, a path can be removed, etc.)
3. What is my main focus? With any painting, one object or subject will be the focus, and the rest will be complimentary. It is common to have the focus be in the lightest area, or have the brightest light or color on it. Arrange the other objects to “point” to the main focus. A lady wearing a bright red dress on the beach, on a cloudy day, amongst a group of other people wearing all black would certainly pull the focus to her. Be clever.
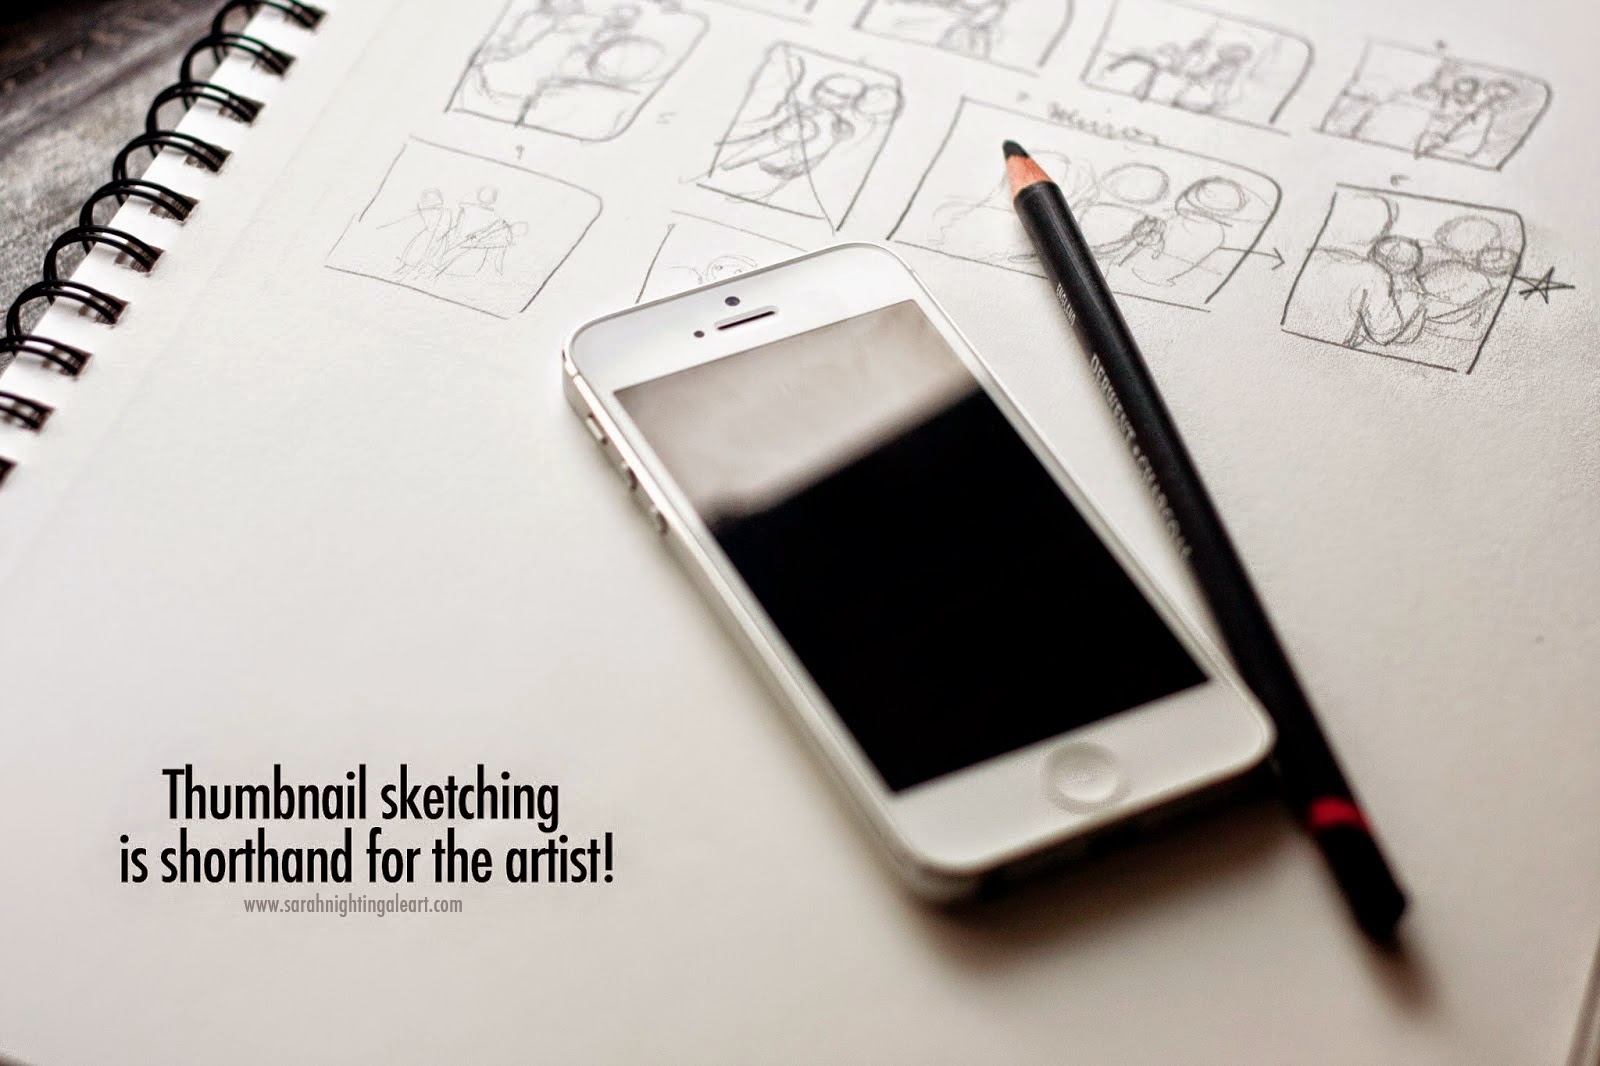
A great way to plan out composition is to make “thumbnail sketches.” These are sketches that you make in under 1 minute that give the basic ideas. Thumbnails sketching is shorthand for the artist! It’s ok if they don’t make sense to others, as long as they make sense to you and you can take that thumbnail sketch into a bigger idea.
Lighting: Equally important to composition is lighting. Again, another complex subject, but here are three questions to ask yourself:
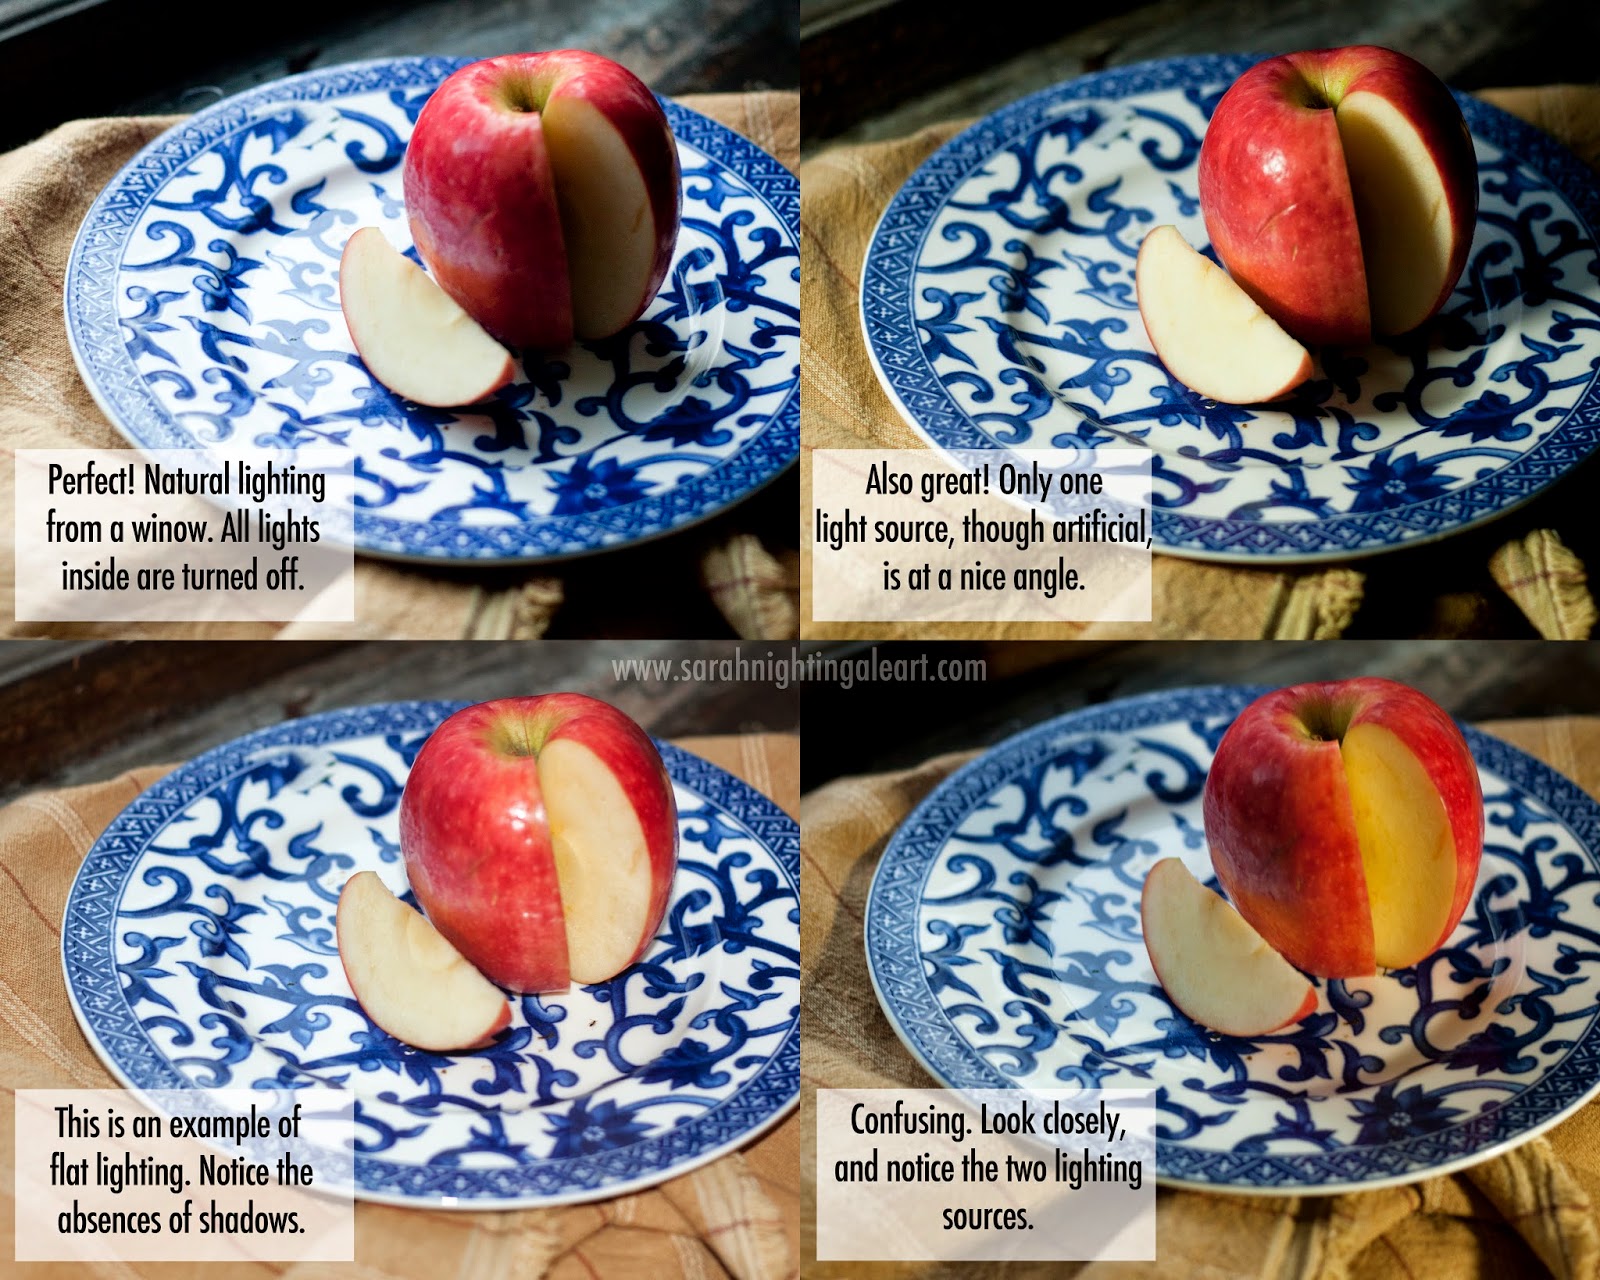
1. Do I have only one light source? A common error in beginning art is that a subject will be lit by two light sources. It is always best to light your subject with only one light. Even better is to have that light be the sun! If you're shooting indoors, turn off all indoor lighting and photograph close to a window that lets in that natural sunlight. (Although, in rare circumstances for effect, it is acceptable to have two light sources. Consider a painting of a girl reading by a candle? Maybe a second candle or lantern is off in the background? In this case, there would be two light sources and, if done correctly, would have a beautiful effect.)
2. Is my light “flat”? Flat lighting is simply lighting that produces very little shadow on the subject and very little contrast. A big culprit for flat lighting is a camera’s flash. A flash will produce a “flat” image--turn it off. Another culprit for flat lighting is an overcast day. A good option for an overcast day is to take your subject near a window, turning off or covering all other light sources but the window, and allowing the building to act as the “shadower” and the window to be the light source.
Similarly, lighting that is not flat is full of contrast, but be sure to pay attention to your contrast. The contrast the sun creates on a bright day outdoors is much more harsh than that of the same sunlight coming in through a window. The contrast can set the mood of an image. Think about how hard or soft you want it to be.
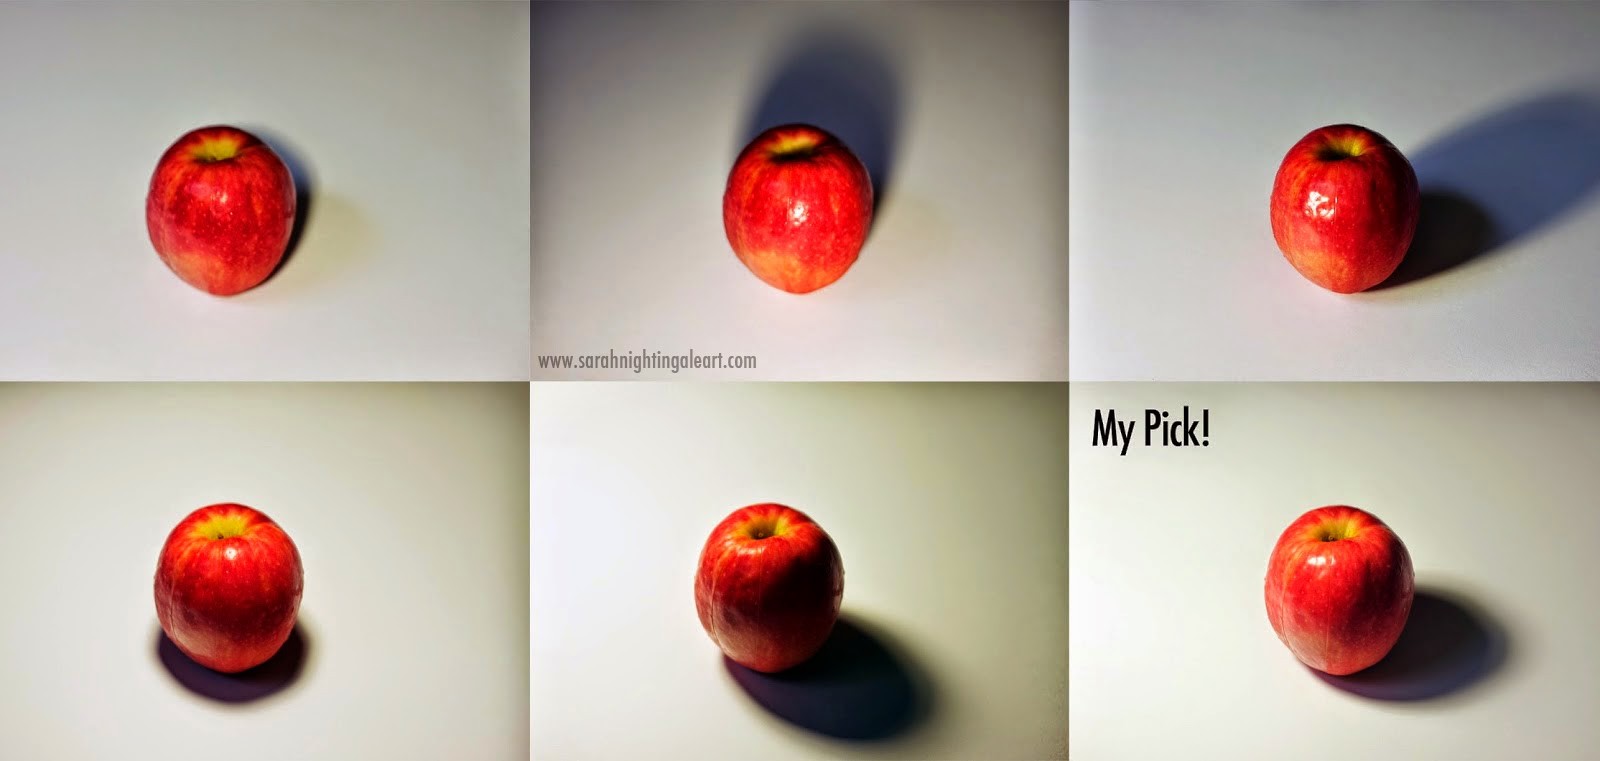
3. Where are my shadows? My rule of thumb is to have my subjects ¼ of the way into the shadow. A shadow falling directly in the center can be distracting, while a shadow falling more than ½ of the way on the subject can make the overall image seem dark and dreary. A shadow from straight on or from "below" can also make a object appear as if it is floating in the air. Every object should have a "resting shadow."
3. Where are my shadows? My rule of thumb is to have my subjects ¼ of the way into the shadow. A shadow falling directly in the center can be distracting, while a shadow falling more than ½ of the way on the subject can make the overall image seem dark and dreary. A shadow from straight on or from "below" can also make a object appear as if it is floating in the air. Every object should have a "resting shadow."
If I’m photographing a portrait, I ask, are the eyes in shadow? Where is the shadow of the nose falling? I like it falling slightly to one side, a little bit downward, but not straight down. Moving a lighting source or turning your subject to the appropriate lighting can do wonders for your photos and therefore your painting.
Additionally, when I am photographing landscapes, it can be a bit different as I am not in control of lighting the subject (the sun is). However, whether I am photographing a person, a still life outside, or a landscape, I always make sure to photograph when the sun isn’t directly overhead, usually 10am-2pm or later. That way, shadows are sure to fall and create depth in my landscapes.
Compare these images below. What does the shadow or lighting say about each image? What feels awkward? What makes the apple feel as if you could reach out and pick it up? Which apple(s) is floating? If it is floating, it is lacking a "resting shadow." Can you see any that are "flat"?
Multiple Shots: My dad always laughs at my “camera technique.” Because I grew up in the digital age, the concept of film and only having a roll of film to shoot on is a foreign concept to me. Therefore, when I am doing a photo shoot, I experiment with many angles and many different shots. This means many, many, many photos--the reason for my dad’s laughing. It is always nice to have many photos to choose from rather than only having a few that you have to settle with. I always regret the times that I didn’t shoot enough photos. If I think I have enough, I double it--then I know I do. Bottom line is--take lots of photos!
Capturing The Moment: The last thing I want to mention is the importance of capturing the moment, or, capturing your vision. As I mentioned under “composition,” making thumbnail sketches is a great way to record ideas and thoughts to narrow down what you love to a single idea. Before you begin your photo shoot, decide exactly what it is you want to capture, and keep that in mind as you shoot. A strong image should always have a strong idea behind it. Similarly, when an image reflects something the artist is passionate about, it will show in the work. Be authentic. Be courageous in your ideas. Be decisive. You can do it!!!
>>If you've missed them, check out these two other tutorial-like posts!
and


0 Comments